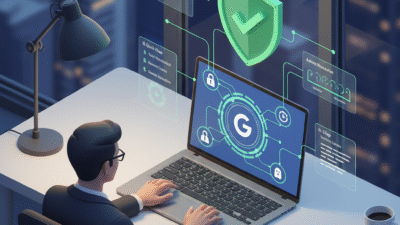
You must keep your digital office safe from bad actors in the world today. Therefore, you should learn how to secure your workspace with 2-step verification and zero hassle. Truly, a single stolen password can put your whole company at risk. Consequently, you can build a strong shield by adding a second layer of safety for 2026.
Many people think that extra security always makes their work day feel much slower. But, the reality is that modern tools make the login process very fast and easy. Always remember, a secure account is a strong signal for any search engine. This ensures that your brand stays trusted and your sensitive files stay very private. This approach requires you to pick the right tools for your specific team needs. It helps you build a much more reliable business for the long term. It makes your daily digital life feel much more secure and very effective.

Phase 1: Picking the Best 2-Step Methods for Speed
First, you must understand that not all security codes are the same. Why do some methods feel like a chore while others happen in a second? Clearly, choosing the right “second step” is the key to zero hassle in 2026. Therefore, you must pick a method that fits how you and your team work every day.
Fast Ways to Verify Your Identity
Here are several ways to stay safe without wasting any of your time:
-
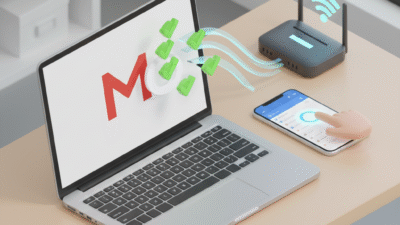
Google Prompts: Simply tap “Yes” on your phone screen to log in instantly.
-
Security Keys: Plug a tiny USB key into your laptop for one-touch access.
-
Built-in Sensors: Use your phone’s thumbprint or face scan to prove it is you.
-
Authenticator Apps: Get a quick code from an app even when you are offline.
-
Backup Codes: Print a list of codes to use if you ever lose your mobile phone.
-
Trusted Devices: Tell Google to remember your main computer for thirty days.
-
Search Engine Safety: Secure logins help your site earn a better trust score.
Truly, these methods solve the problem of slow security in just a few clicks. But, you must also ensure that every team member sets up their own backup phone. This keeps your office running even if someone forgets their device at home. It creates a very high and professional standard for your daily digital safety.
Phase 2: Setting Up Your Workspace Shield Fast
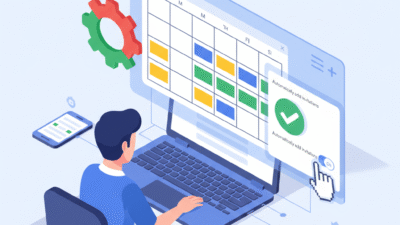
So, how do you turn on these features without causing a panic in your office? Truly, setting up 2-step verification is a very simple task in the 2026 Admin console. Consequently, you should follow a clear path to guide your team through the change. It acts as a direct fix for your security gaps and protects your data.
How to Enable 2-Step Verification in 2026
Here is how you can secure your whole workspace in under ten minutes:
-
Visit Admin Console: Log in to your main Google Workspace dashboard right now.
-
Find Security Settings: Go to the “Security” tab and look for “2-Step Verification.”
-
Allow User Choice: Give your staff the power to pick the method they like best.
-
Set a Deadline: Tell everyone they must turn it on by the end of this week.
-
Provide a Guide: Share a simple list of steps to help them finish the task.
-
Check the Status: See who has finished the setup in your user report today.
-
Trust Rankings: Frequent security updates help you keep a high search engine rank.
Furthermore, this improves your search engine performance by showing you are a secure pro. It makes your company look very modern and ready for 2026 digital growth. This ensures that you never have to worry about a simple password leak again. It creates a very fast and clear path for your professional peace of mind.
Phase 3: Avoiding the Common Security Hassles
The third phase involves making sure your new safety rules do not block your team. Clearly, you want to stop hackers but you must also let your workers do their jobs. Therefore, you should learn how to use “Trusted Devices” to reduce the number of prompts.
Staying Secure Without Constant Interruptions
Firstly, teach your team to check the “Don’t ask again on this computer” box. This allows them to stay logged in safely for a month at a time in 2026. Secondly, use “Security Keys” for your staff who work in busy or loud areas.
Furthermore, ensure your recovery email is always up to date for every single user. Also, use transition words in your security emails to keep them very easy to read. Lastly, remember that a safe login path helps your search engine authority and trust. Truly, a zero-hassle plan is the best way to keep your team happy and safe. It allows you to focus on your work while the security runs in the background. This is why top firms use “Silent Security” methods to protect their brands.
Phase 4: Measuring the Value of Your Safe Workspace
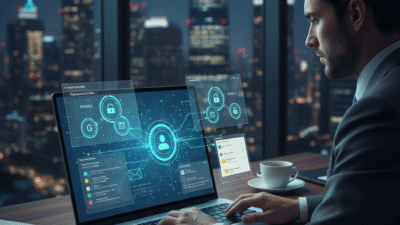
The fourth phase is where you see how much your new safety rules help your firm. Clearly, you must know if your 2-step plan is truly protecting your bottom line. Therefore, you must track the “Security Health” of your workspace every single month.
Metrics for a Secure and Fast Office
Firstly, track the number of “Blocked Login Attempts” in your security reports. This helps you see how many times your 2-step shield stopped a real hacker. Secondly, measure the “Setup Rate” to ensure every new hire is safe from day one.
Furthermore, look for any “Login Failures” to see if a worker needs more help. Also, use your data to see if a secure site leads to more “Client Trust” for you. Lastly, check your search engine ranking to see if site safety helps your web traffic. Truly, a safe office is a journey that leads to a much stronger brand in 2026. It turns a boring task into a series of smart, secure wins for your whole team. This ensures your business stays strong while others face digital leaks and thefts.
Best Practices: Keeping Your Security Fast and Fresh
Finalizing your plan requires you to stay ahead of new digital threats every day. It needs you to review your safety settings and update your methods every year. Clearly, security and compliance in AI and web tools is a team effort. Therefore, follow these simple tips to keep your workspace safe and very fast.
Simple Tips for Lifelong Digital Safety
Firstly, run a “Security Checkup” once every six months to find any weak spots. This helps you stay one step ahead of anyone trying to steal your data today. Secondly, encourage your team to report any weird emails or login prompts right away.
Furthermore, use transition words in your training guides to keep them very clear and helpful. Also, remind everyone that their safety helps the company earn more search engine trust. Lastly, check your search engine data to see if safety helps your web traffic grow. Truly, a safe path is a journey that leads to a much better brand in 2026. It builds a path of trust that lets your whole team grow very fast. This secures your future in the digital world for a long time.
Frequently Asked Questions (FAQs)
Q1: Is 2-step verification really necessary for small firms?
Yes, small firms are often targets because they have less security than big banks.
Q2: What if I lose my phone and cannot get a code?
You should always print your “Backup Codes” and keep them in a safe place.
Q3: Does 2-step verification affect my SEO?
Indirectly, yes, because search engines favor brands that are secure and highly trusted.
Q4: Which is the fastest 2-step method for 2026?
“Google Prompts” is usually the fastest because you only need to tap one button.
Q5: Can I turn off 2-step verification for my trusted staff?
You can, but it is much safer to leave it on and use the “Trusted Device” feature.
Also Read: Google Workspace: How to Bring Your Dead Account to Life